
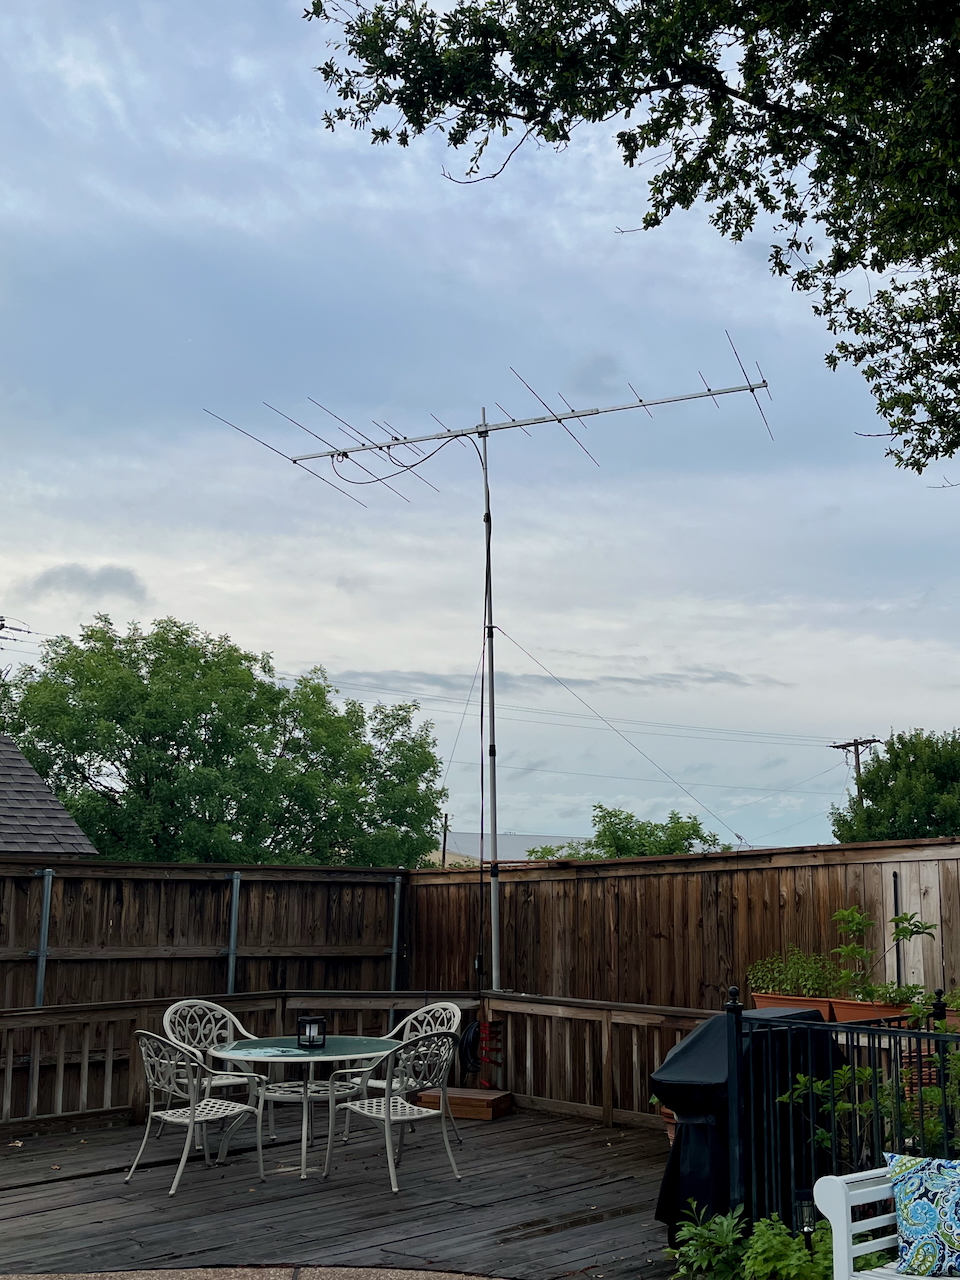
I recently decided to purchase another fiberglass push-up mast to make it easier to take my show on the road. The current 25-foot mast is strapped to my deck and supports a 6 and 2-meter antenna, driven by an Armstrong rotator. I’ve taken it on the road, but it requires dismantling everything, traveling, and then setting it all back up again. Instead, I thought it would be a good idea to get another mast specifically for portable operations.
Push-Up Mast Considerations
I currently own the MaxGain Systems MK-4-HD, which stands 25 feet tall when fully extended. I had considered either purchasing a taller one for home use or a shorter one for portability. As I reflected on this, I realized that a taller option wouldn’t really work at home due to the wind we experience. Additionally, a shorter one isn’t particularly beneficial for portability. Consequently, I recognized that the 25-foot version provides the most versatile size, allowing me to set it up at whatever height suits my needs at home or on the go. Moreover, all the tubes can be interchanged.
 MaxGain Systems also offers solid fiberglass tubes that fit the tops of their masts. I tried the 1” solid rod and found it worked great with my lightweight portable antennas. However, that size is just too small for my larger home antennas, so I picked up the 1.25” solid rod for home operations.
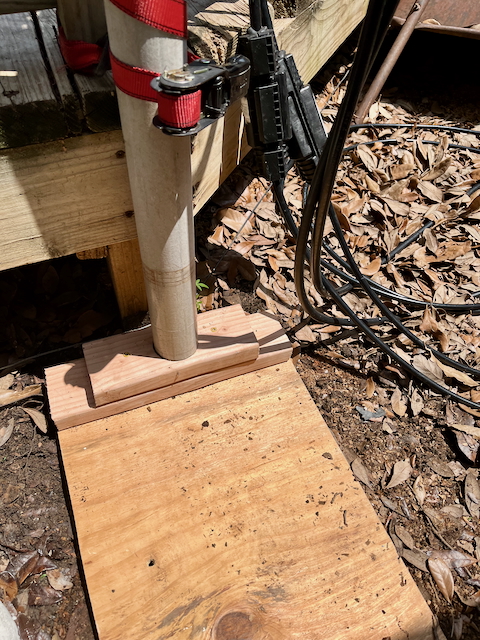
My next change was to pull the drive-over tilt base from the home station and build my own fixed mast mount base. It’s all wood with a 2.5-inch hole saw cut through two 2x4s for the base. I have a spike driven through the base into the ground, along with a bag of concrete placed on top of the base. It works. Next, I need to clean up the drive-over unit in time for the June VHF contest.
Push-Up Mast Fit and Construction
 You may recall that with my first purchase in 2018, I had trouble with the fit of the tubes. I literally had to pound out one of the masts that was stuck inside another. MaxGain Systems advised me that this was merely a slight oval shape that would work, given time. I didn’t really find that to be the case until after several years of exposure to sun, heat, and cold in my backyard. With my recent purchase, the masts fit perfectly into one another.
 I have some advice on epoxy. I used the recommended brand. While the written directions instruct you to apply the epoxy to the clamp, the visual photo shows it being applied to the mast. I believe that applying it to the mast works best, as it avoids getting epoxy into the clamp/mast junction, which could restrict the movement of the fiberglass tube within the clamp. I’m always somewhat critical of any build directions. It’s an occupational hazard, after working for 11 years at Heathkit, followed by 25 more years in technical publishing.
Update September 2025. After my trip to DM85 in July, I had one of the mast tubes come apart from the epoxied clamp. I sanded it down a bit and resealed it with the same epoxy. However, after the September VHF contest, I had five of the six tubes come apart from the clamps. After reviewing a few options for getting them back together, I selected J-B Weld Plastic Bonder. It’s stated to work for composites, fiberglass, and thermoplastics. It’s holding pretty well for the moment. I didn’t have this challenge but once on the original mast. But that could be due to the very tight fit with those mast tubes.
Home Antenna Mounting
At home, I’m using the Antennas Amplifiers 6 and 2-meter Yagi. It’s been working very well with a few new grids and a new DXCC logged. However, the boom-to-mast mount was a bit of a struggle since the U-bolts are designed for a two-inch or larger mast. Mine is a 1.25” fiberglass mast, so I pieced together some solutions to make it work.
For this rework, I picked up a DX Engineering U-bolt, drilled matching holes in the antenna amplifier’s mast plate, and mounted it to the 1.25” solid fiberglass rod at the top of the mast. It worked out great.
Portable Antenna Mounting
Here, I use a one-inch solid fiberglass rod at the top. The lightweight antennas I use when portable work great since they don’t put too much strain on the mast. You can see a video of the mounting in my article about the January VHF Contest.
As you can tell, there are never any simple projects here at K5ND, or at least it seems that way. This one is working well for now, until I come up with another brilliant idea or two for even more changes.


[…] Fiberglass push-up mast revisited — portable and home stations The 25-foot version provides the most versatile size, allowing me to set it up at whatever height suits my needs at home or on the go. K5ND […]