
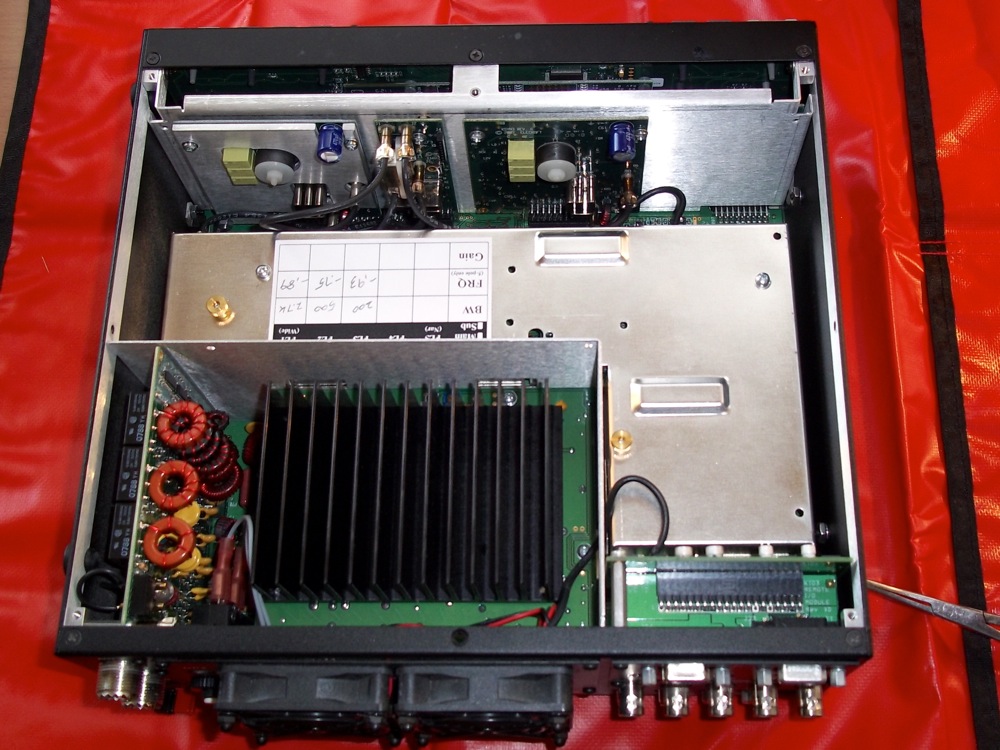
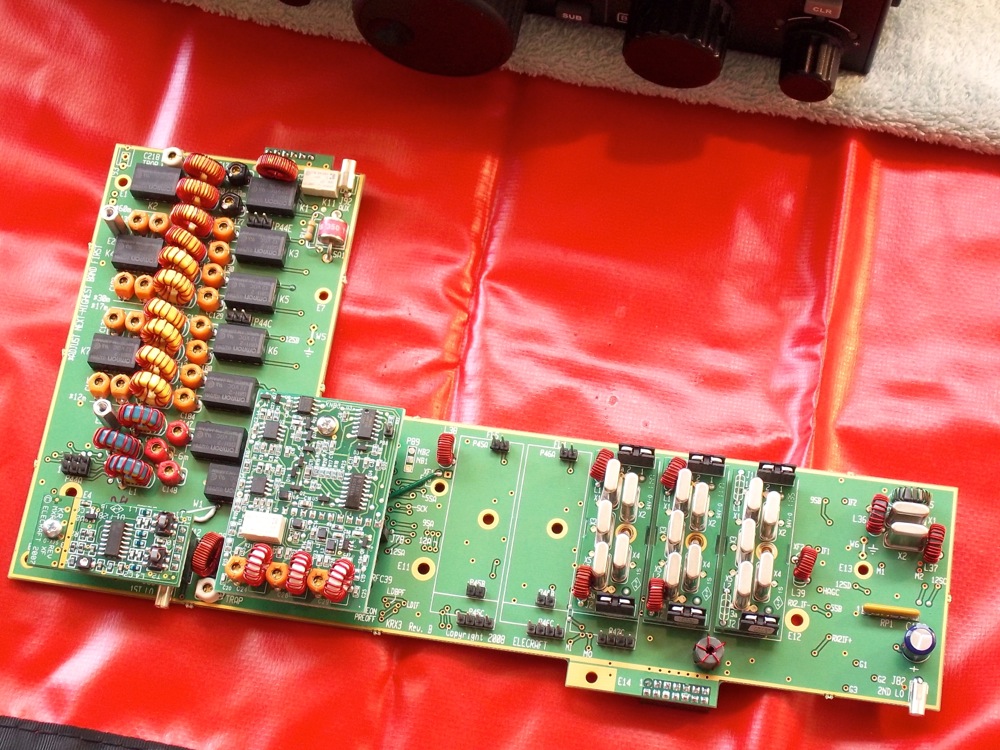
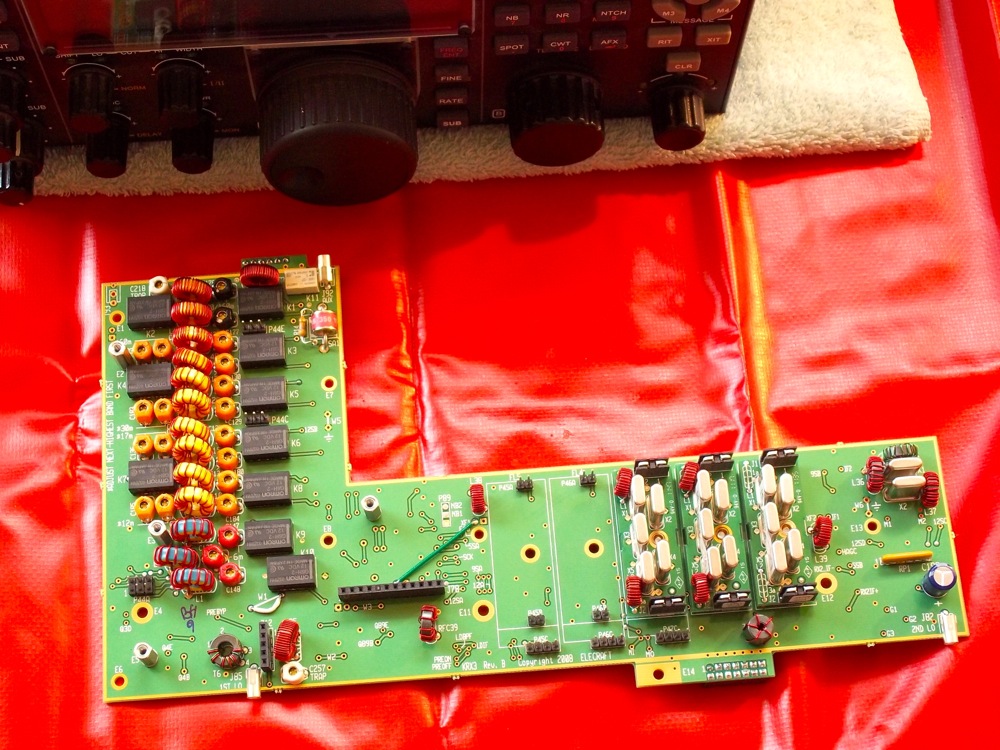
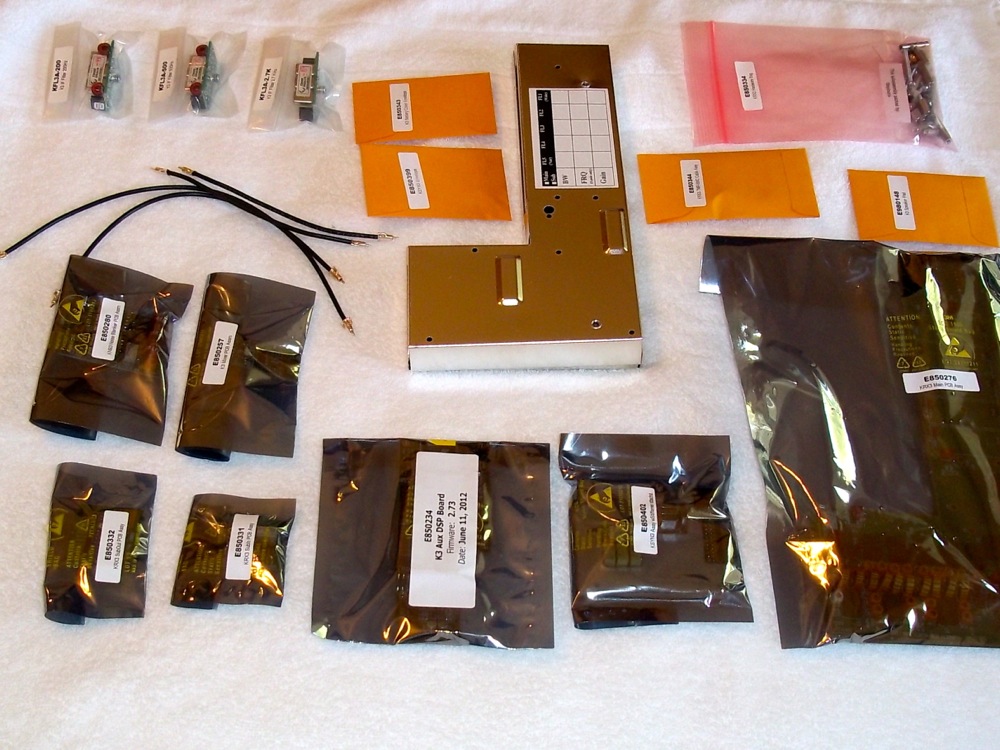
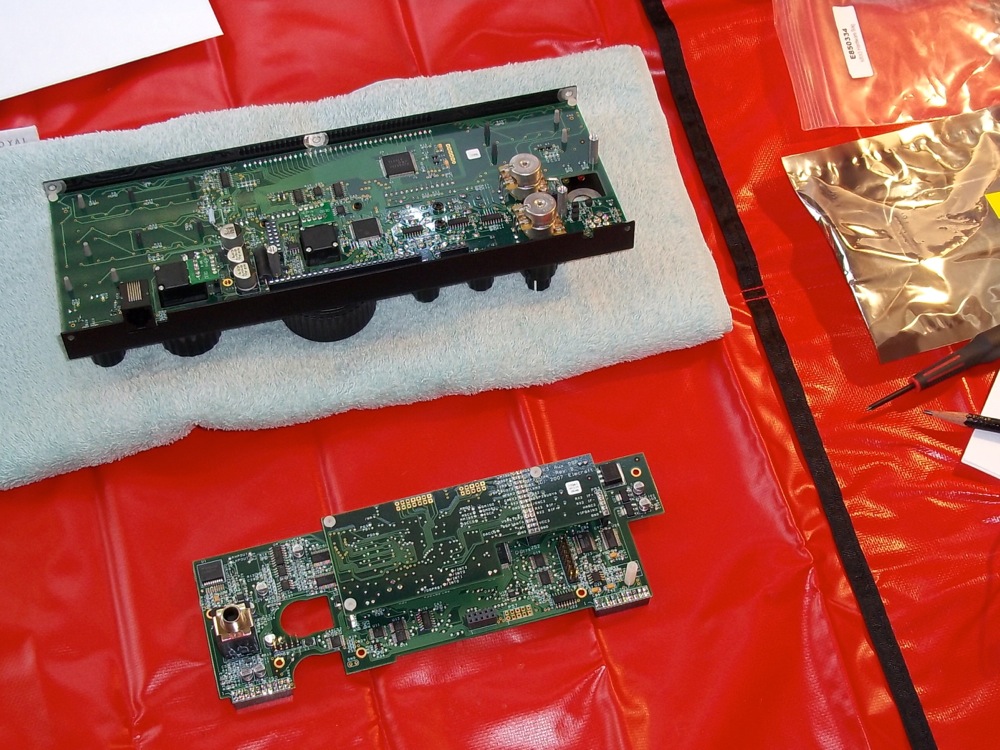
Regarding the kit itself, I had envisioned just plugging in the KRX3. When the package arrived, I looked over the contents and the installation manual. I discovered it was a bit more complex than that. I needed to install 7 pc boards during the installation and take apart the K3 right down to pulling off the front panel and removing the DSP board. I decided to devote my Sunday to the effort. I always like to get things done that I start on the same day and I never, ever, want to rush this type of installation. Glad that I devoted that amount of time. I took it slow and easy, took several breaks, including one to pick up some DeoxIT spray and another to watch the German Formula 1 Grand Prix. I managed to get things completed over the course of about eight clock hours. You can see some photos of the effort nearby.
I chose subreceiver filters matched to the mode that I operate, CW. I decided to go with 5-pole filters with the standard 2.7 kHz filter along with the 500 Hz and 200 Hz filters. This doesn’t really match the filters in the main receiver, which are all 8-pole filters at 2.8 kHz, 1000 Hz, 500 Hz, and 250 Hz. Even so, I felt that this would be a good match, first for the mode of operation and second, for the way that I plan to use the subreceiver. At this point, I don’t see a great deal of diversity reception going on. After all, with 100 watts I still can’t work all the stations that I can hear on this fantastic receiver. So no need to get into diversity antennas, etc.
After the installation, it was a simple matter to configure everything in the K3’s software and to update the second receiver DSP firmware. Now to update my human neural wetware in order to take full advantage of this fabulous technology in the next contest!


Doing this exact same install tomorrow 🙂 Great blog and pictures, 73 and good DX!
Matt
Thanks, Matt. Good luck with your install and have fun!
73, Jim, K5ND